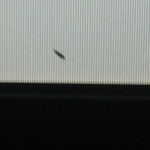
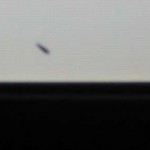
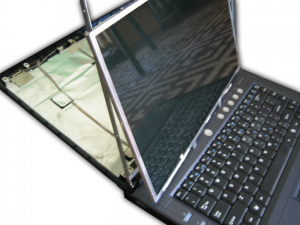
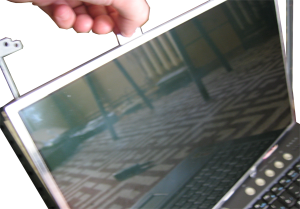
A few days ago I noticed a bug (more like a small worm) on my LCD screen. First attempt to take it off failed, and I soon realized it was under my screen. Strange thing was that when i poke my screen with finger worm started to move. Unfortunately for me in that process (poking screen to “corner” it) i manage to kill it (or he just stuck in bottom corner of screen). In the end I got black area, similar to dead pixels.
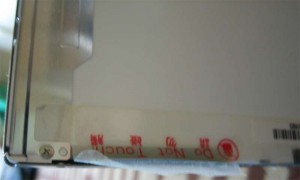
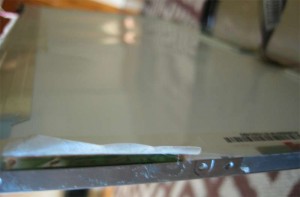
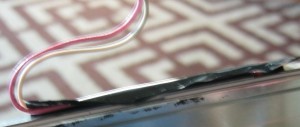
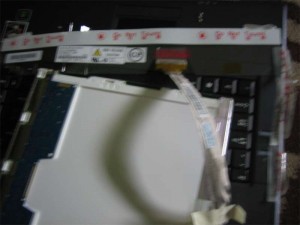
As shown on above pictures only solution to get rid of this was disassembling entire LCD screen and take it out.
Here I will describe step that I toke to do that. My goal was to disassemble minimum of hardware, so for example I didn’t remove keyboard and then entire LCD module. That save time and makes everything more simple.
Spec: COMPAL FL90, screen WXGA 15.4′ 1280×800, Chunghwa CLAA154WB03A
Warning: I don’t take any responsibility for any damage caused by this material. Also disassembling LCD voids your laptop/screen warranty.
YOU DO THIS AT YOU OWN RISK!!!
First thing first. Before doing anything unplug laptop from AC and remove battery. Wait a few hours so that capacitors discharge. Work in clean and dust free room (any dust, dandruff, and so on between screen and LCD will be seen on screen). Also, probably it’s obvious but anyways, the screws are really small so good idea is to keep them in some cup or something and note where screws goes that will saves a lot of time at assembling everything together.
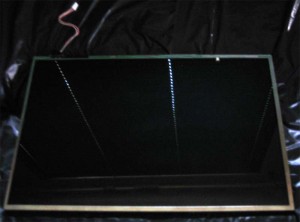
In my case I did mark area where worm was because he became almost invisible on black background and when screen is disassembled it is also hard to see it (back side of screen is kinda “black”, filter, highly reflective).
1. Disassembling display module
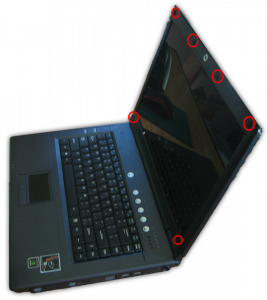
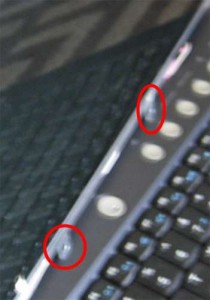
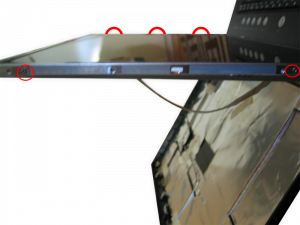
To do that remove six screw pads and then six M2.6×6 screws.
Remove plastic case from bottom corner (insert your fingers between display and the LCD bottom bezel, left or right, and gently pry up).
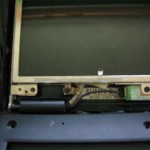
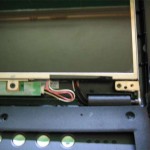
2. Remove five screws mounting display, inverter board, LVDS/CMOS cable.
You can remove inverter right now ore later. Actually only one cable connected to LCD need to be removed (above most right picture, pink-white one).
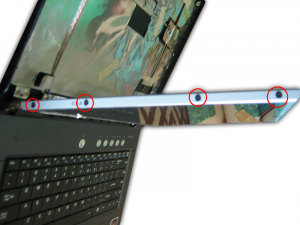
3. Remove eight M2x3 screws securing hinges
After that take out screen.
4. Removing LCD screen
At this point I disconnected inverter (you can do that sooner).
LVDS cable is a little tricky to remove. That’s because entire back is protected by sticky foil. Simply removing it do a trick (there is no electronic connected on it so don’t worry).
Remove from corner, not the back of a screen. That way everything will fit back perfectly.
a) remove bottom and top “handles”
Place screws and mark them. I spend half hour to find correct one (other screws, from back of a screen are really similar to this one, but they are not the same)
b) remove tape
Remove tape from side, so that way at assamblying foil will fit back perfectly and don’t fall.
c) remove tape from back light cable
d) and finally LVDS connector
Entire foil will come out together with connector. Put it sticky side up.
5. Remove screws on a screen (i did it before point 4, you can chose to do so or work on “unluged” screen)
Ther are 2 screws on one side and 3 on other.
6. Screen and LCD matrix, removing the bug 🙂 (worm)
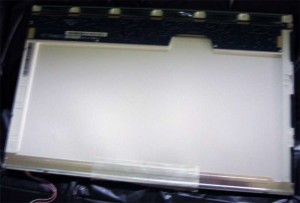
Move screen really carefully, best hold it by its corner. I placed matrix on my bed witch some clean garbage bags underneath to prevent dust. Back of a screen is plastic.
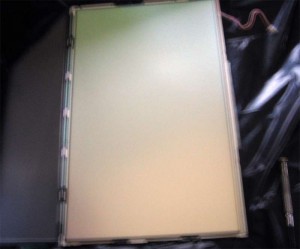
Separate screen from LCD. This step is really delicate. Any dust on it will be seen on a screen.
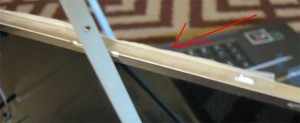
On last picture i marked area where worm/bug was. Lucky for me it was on filter side. As you can see the surface is highly reflective so i didn’t “catch” on picture actual worm.
WARNING: DO NOT TOUCH LCD OR FILTER SIDE!! (if there is no worm on it 🙂 )
To remove worm I used my credit card but unfortunately there was still some “wet” or goo marks. Stick with wool did the trick. I did make sure that the surface is as clean as possible.
Now assembly everything back, and hope that everything will work.
